Preparing Wood With Hand Planes
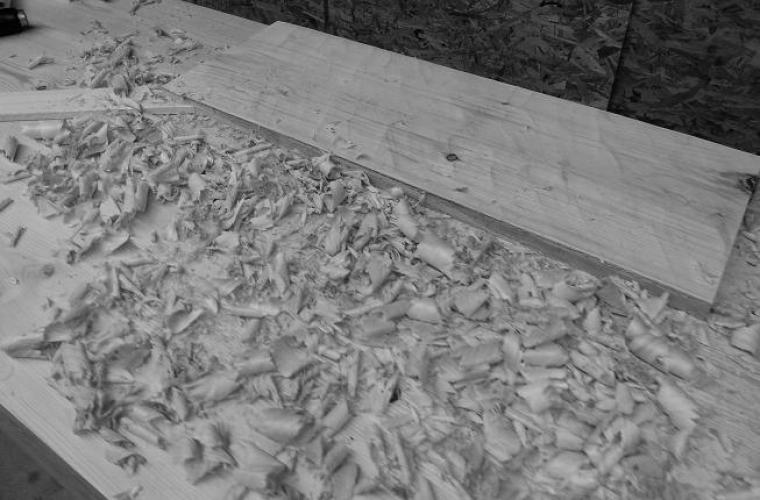
So why on earth would you want to prepare stock by hand? It sounds hard work right, well perhaps it is and I for one would never convert all timber by hand. That said having the skill to convert timber from rough sawn boards to planed ready to use stock is a useful one to have. This enables you to take full advantage of wide stock without cutting it down so it can fit through your machines. It also allows you to work late into the evening without waking the neighbours! It’s not that difficult to do which is a plus and I hope this blog entry will encourage you to give it a go.
Back when I built my Tool Chest I had a first go a preparing stock by hand. I only made the boards for the base using this method so I knew if the results were not as good as I wanted there was a place to hide. Luckily for me and the Tool Chest it all worked out fine. Now with bench build progressing it felt right to revisit the process again for preparing the shelf boards.
One great thing about this is you don’t have to spend a fortune on expensive tools (unless you want too of course) . The basic tools can be had for £50.00 or so. Bargain! So what do we need? Well a decent surface on which to work would be a great start. Really anything will do as long as it sturdy enough not to dance around the floor when you get planing and it has a flat enough top. Securing the wood is important but again this can be done by screwing battens or blocks around the wood or by a more traditional method using a combination of dogs, holdfasts, battens or a vice. Whatever you choose make sure the wood is planted.
Here’s a short video giving you some instruction on the type of planes I have. As you can see they are all vintage, if I was going to splash the cash on one plane it would be on the #4 but more on that later.
Phew! That was painful, if listening to yourself on a recording is bad watching and listening is a whole other ball game! So to follow on from the video the first plane we want to grab is the Jack Plane and if your like me you’ll go for the wooden jack. The purpose of this plane is to remove any irregularities, twisting, bowing and saw marks very rapidly. This plane is all about fast removal of wood, not creating a surface for finishing. A flat surface created quickly is what we are looking for.
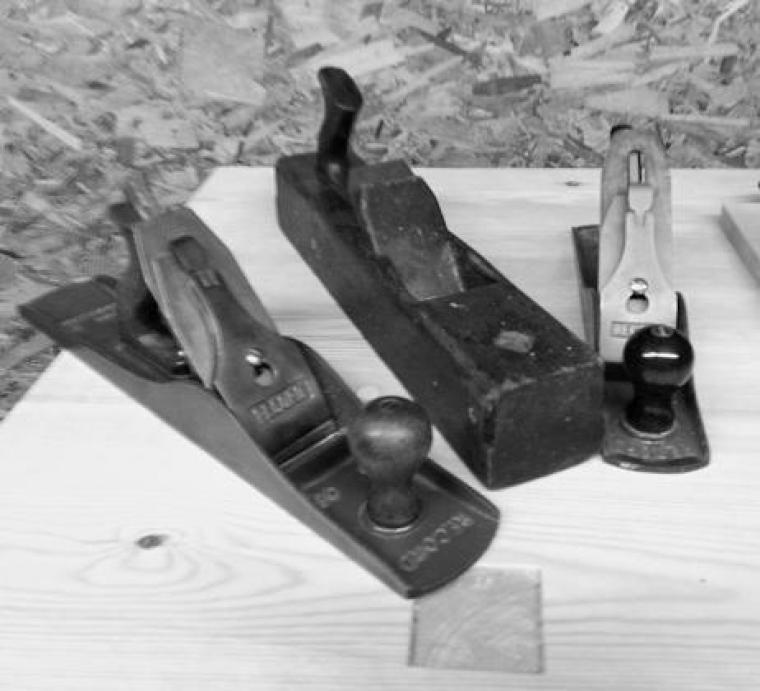
As you can see in the photo below a Jack Plane has a wide open mouth so the thick shavings can pass through easily. The blade is also cambered along it’s width, further adding to the ease in which large amounts of timber can be removed.The cap iron should be set back from the cutting edge, enabling thick heavy shavings to clear quickly and finally don’t worry about having a highly refined plane with a perfectly flat sole (unless you want to of course) a basic robust tool will do the job just fine
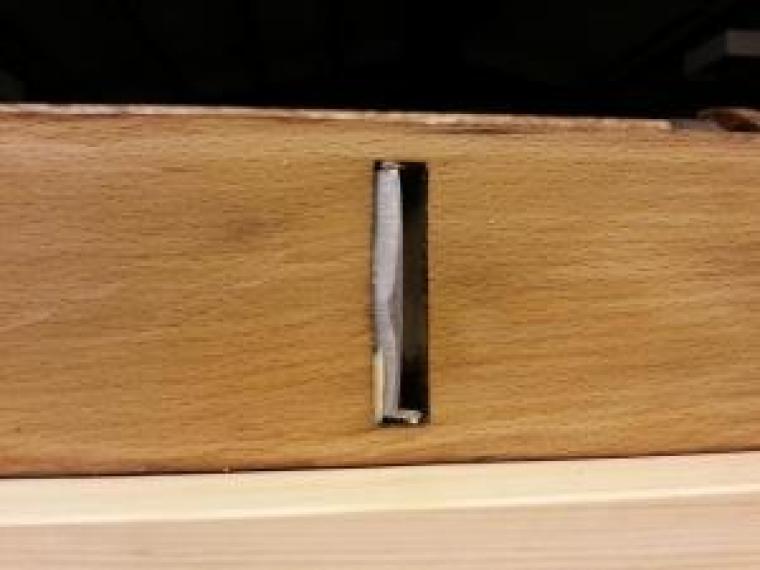
A wooden Jack Pane is normally around 17″ long. It’s metal bench plane cousin would be the No 6 which is the same length or the No 5 or 5 1/2. The No 6 is quite heavy, some users may find this an advantage, others may find it tiring. The No 5 is smaller and lighter, which one works well for your will be down to experimentation. My recommendation would be to buy a wooden Jack Plane, they are cheap and ideally suited to the task of rapid stock removal.
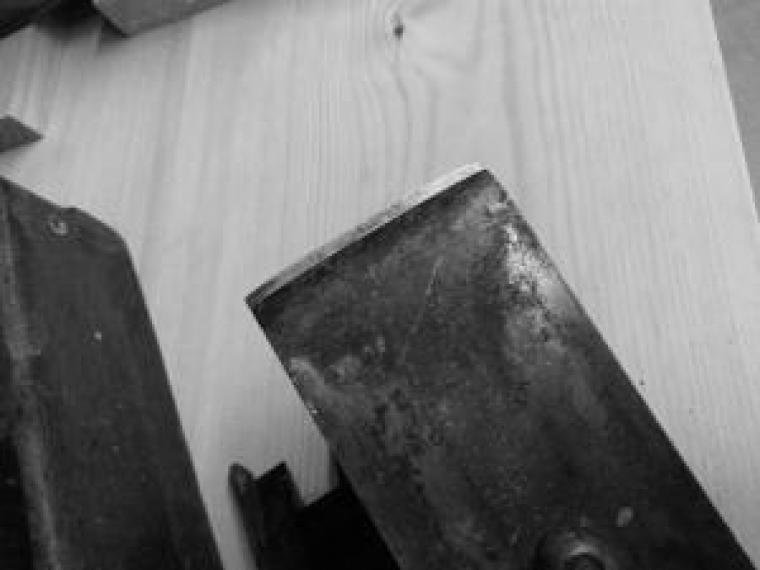
Once the Jack Plane has been used to level the stock and remove the irregularities the longer Trying plane is then introduced. Being longer and more refined than the Jack Plane the Trying plane creates flat level surfaces. It features a tighter mouth, a cap iron set closer to the cutting edge and whereas the Jack Plane can get away not having a flat sole the Trying Plane must have a flat sole.
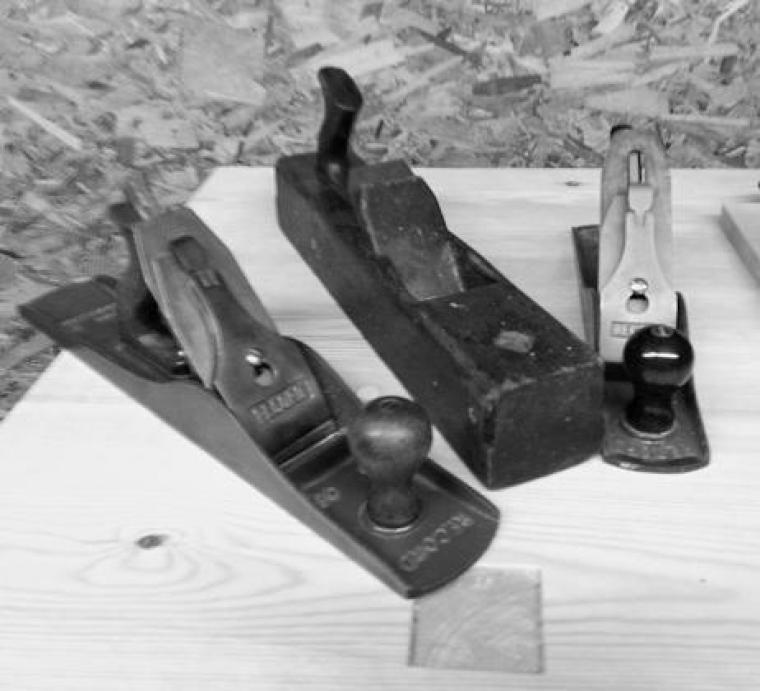
If the sole is bent it will create a bent surface. To this end I add a word of caution. When buying longer vintage metal planes I would advise checking the sole with a straight edge before parting with your hard-earned cash. If you buy a long metal plane with a bent sole you will find yourself wasting at leat a few hours straightening it with abrasives. If you enjoy that kind of thing then disregard my next bit of advice. If you want great value for money buy a wooden Trying Plane. If you find the sole to be twisted or bowed it can be soon sorted with a decent smoothing plane. If you want a metal version look to purchase a quality item from a reputable seller and brand so you can return if there are any issues
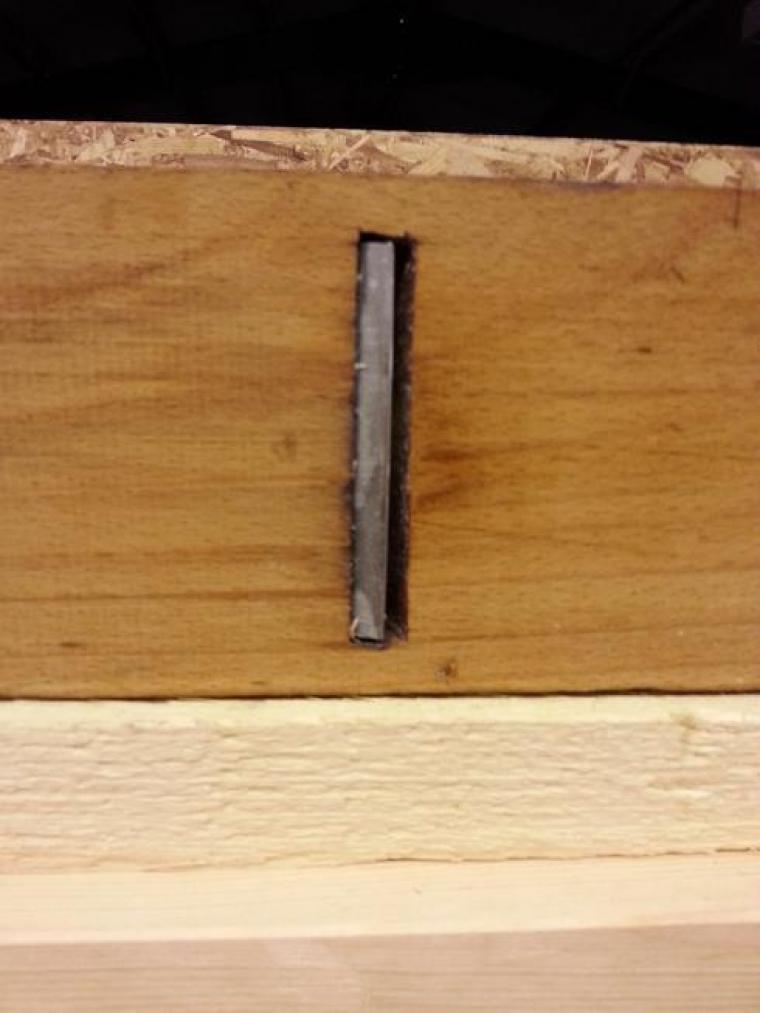
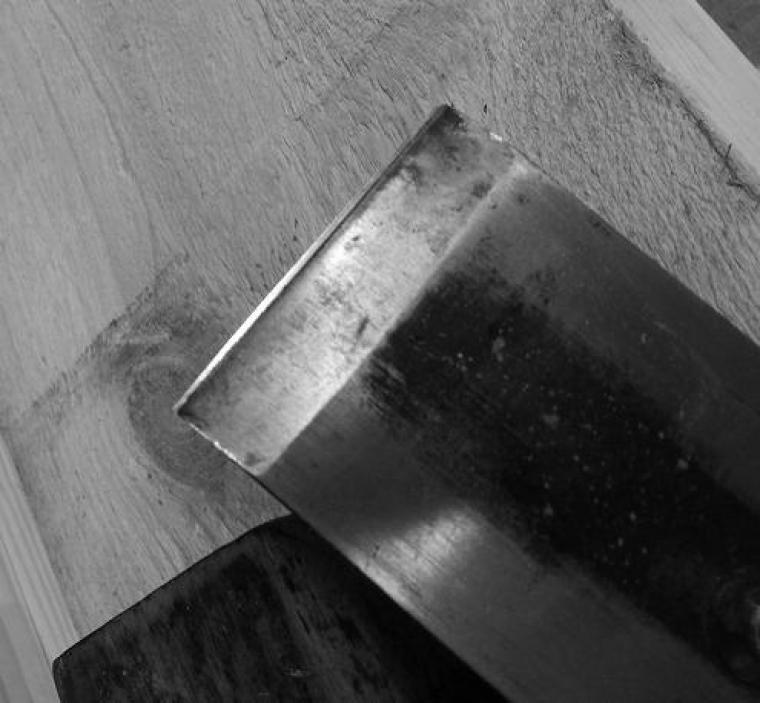
After the Trying Plane has provided us with flat and more refined surfaces the finishing touches are added by the Smoothing Plane
This plane does what its name implies, smooth. Out of all the planes the Smoothing Plane should be the plane that is the most accurate, sharp and refined as it’s the last plane used on the timber.
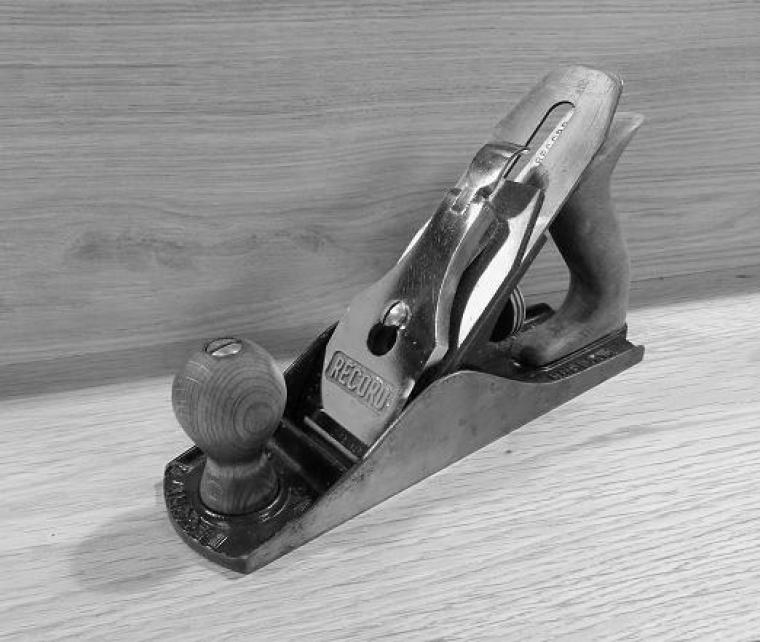
My personal favourite Smoothing Plane is the Bailey pattern No 4. From the vintage market planes made before the 1970′s are a safer bet than later offerings. Older No 4 planes usually have better quality components used within them. These old tools may need some refinement but this is easily done due to their small size. However if you are going to spend money on a quality plane this is the one.
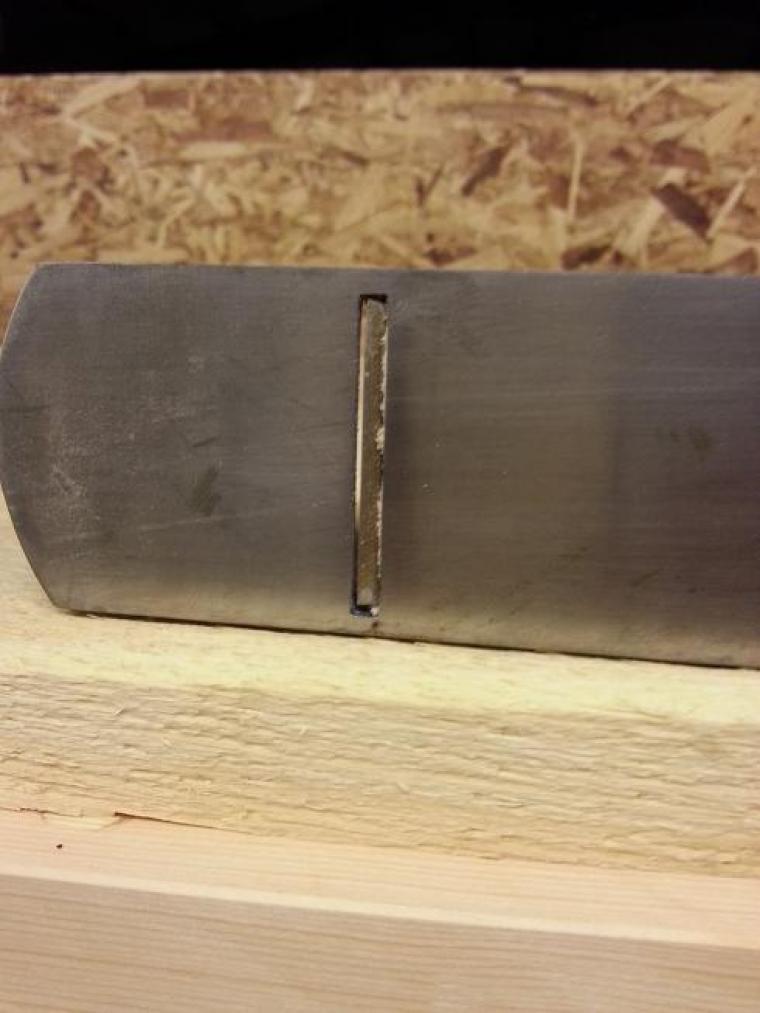
The mouth of this plane is tight, the cap iron is set very close to the cutting edge. It should be very sharp too. These measures help created a highly refined surface.
So that’s the general idea, now lets see it in practice.
Hopefully this short article will give you a nudge to try a different approach next time you have some wide stock.
