#4 Plane - Seating And Setting The Frog
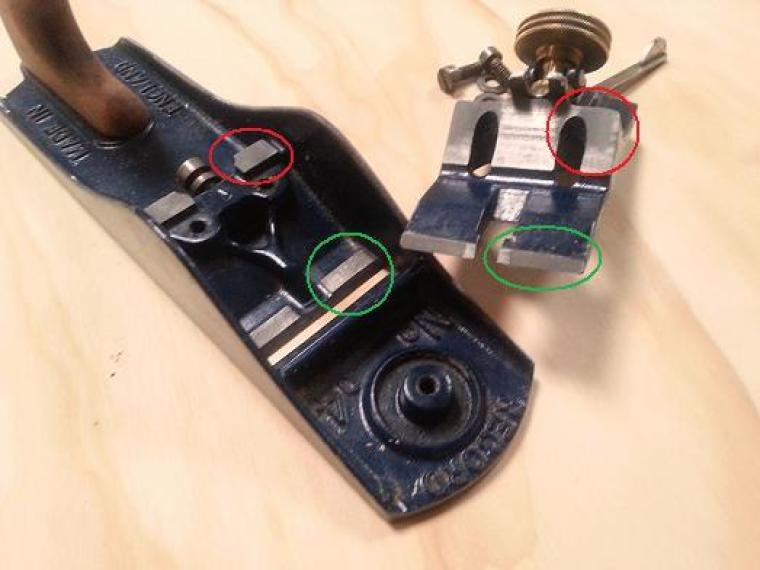
Luckily for me seating the frog was easy. It took nothing more than using 220 grit silicone carbide powder and a little water. This was applied to the meeting faces of the frog and rubbed until the meeting faces had a nice even contact. I have highlighted these areas so you can see the even grey marks where the surfaces have been honed to fit sweetly. The aim of this step is to ensure the frog has a nice even bearing point with no rocking.
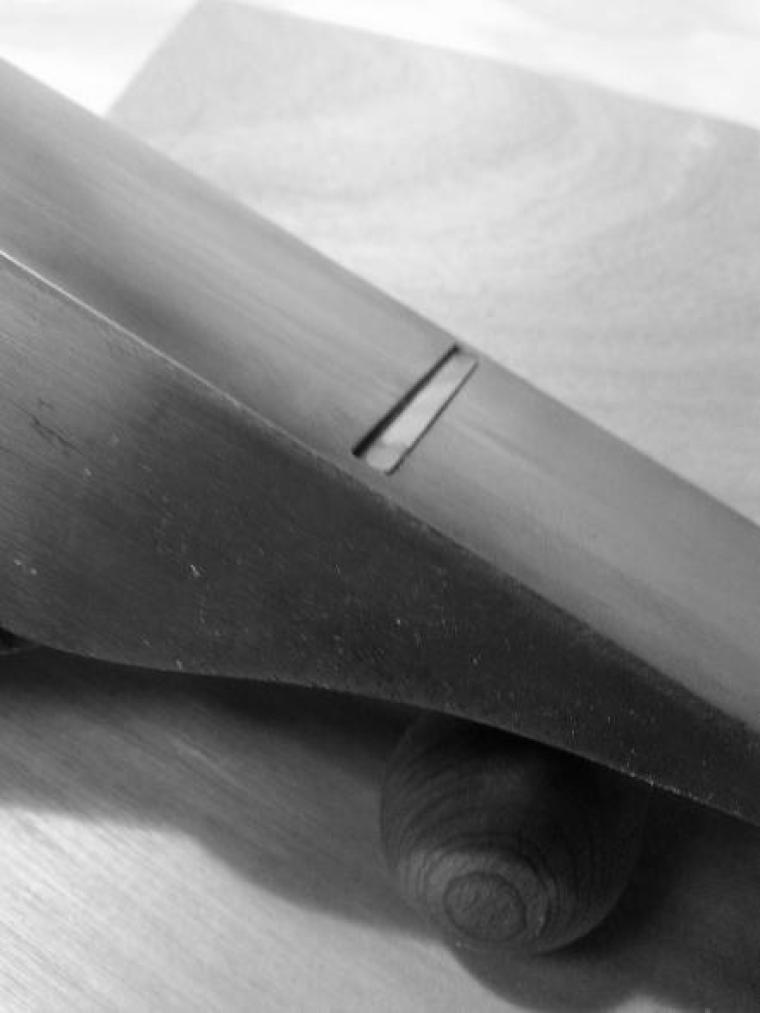
After a clean off the frog was installed and set in an advanced position. The adjustment of the frog was smooth, quick and easy. This is surely down to clean and lubricated adjustment screws and a nice even frog seating. The reason for the tight mouth is to reduce the chance of tear out. I then sharped it (no time to covering sharpening, that can of worms is for another time) on a fine India oilstone with a further hone on a very fine natural oilstone.
The cap iron was attached with a close fit to the cutting edge of about 0.5>1mm. and the whole thing was set ready to go.

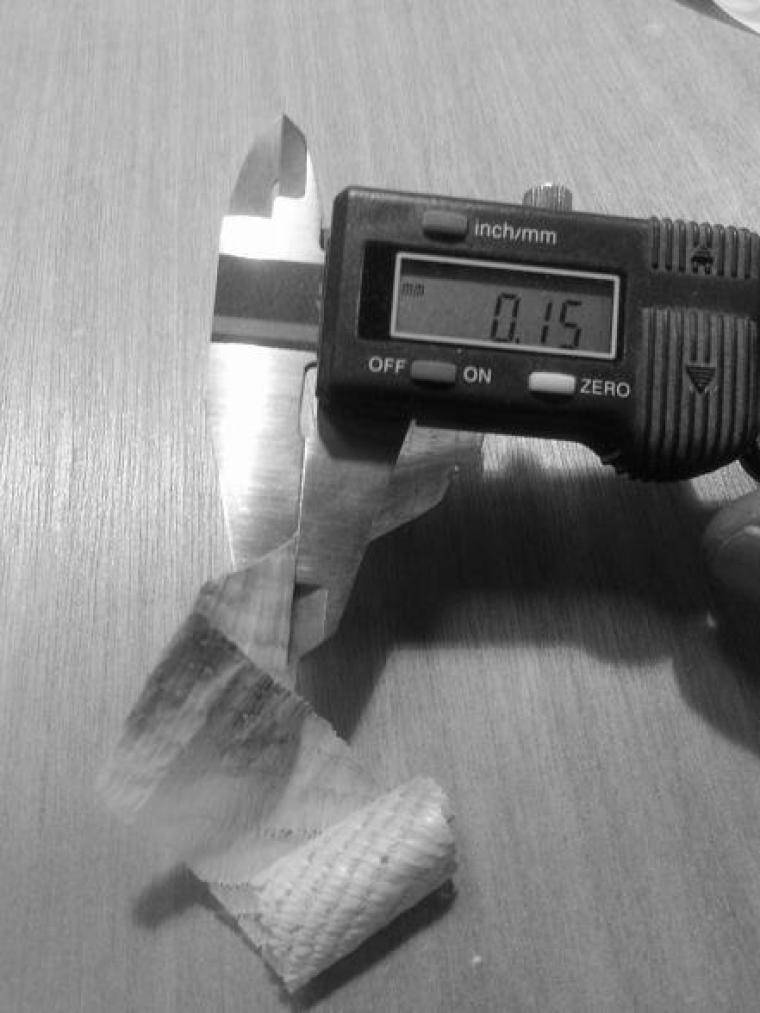
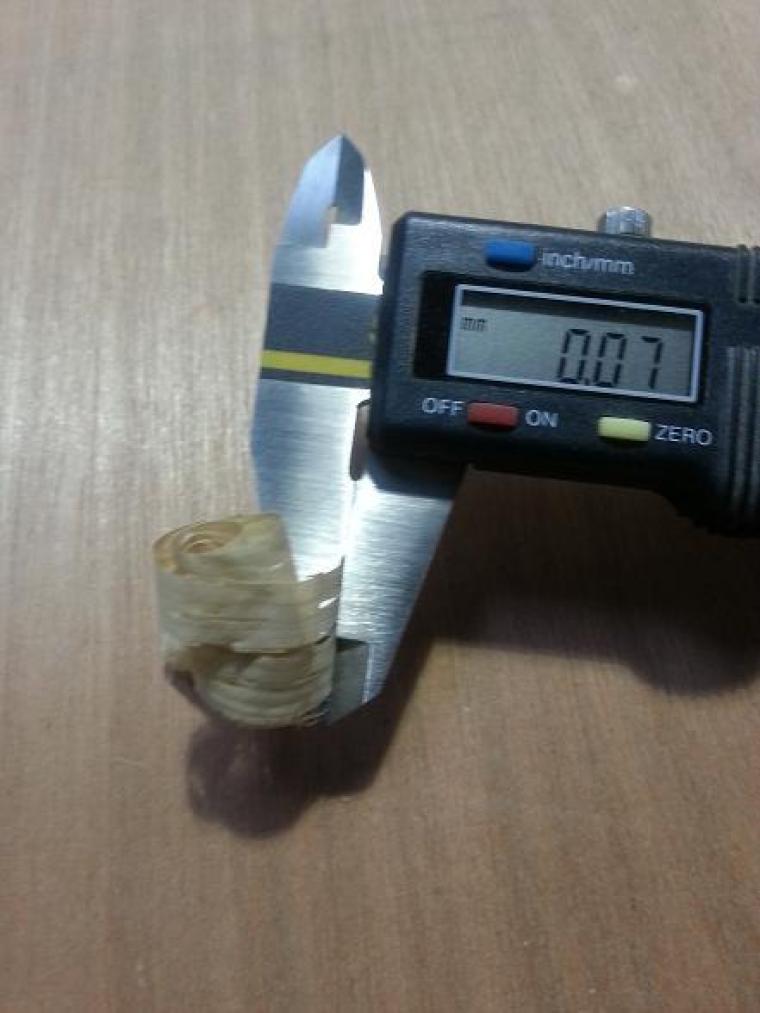
The moment of truth was to do some trial cuts. I don’t really use exotic timbers, the best challenge I could present was long and end grain oak. I used some calipers to illustrate how fine the #4 smoothing plane can go.
I went for the end grain first and thought I would go for a heavy cut

Nice! And then a fine long grain cut too

So there it is. Next time a quick review of what was done and some conclusions.

