Back on Track - Beginner's Guide to Sharpening
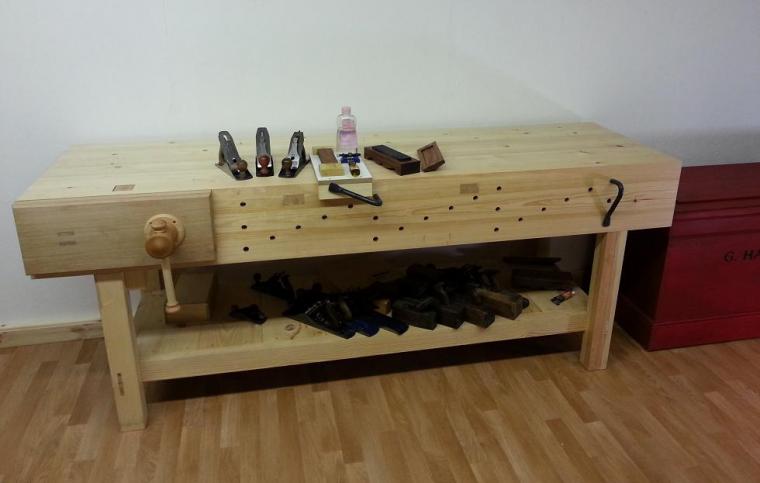
I'm pleased to say the new workspace is now finished. I hope this cleaner look will make the blog easier to follow and more interesting. It's also given me a moment to pause and rethink what I want to try and do with this blog. I have decided on working through tasks that would be familiar to an apprentice, maybe including some of the things I would have liked to of done during my apprenticeship that began in 1997. I have done two of those things so far, building a old school tool chest and workbench, both of which have been great fun. This first post will be on back to basics article and will contribute to what is already an overcrowded dance floor in respect to the topic of sharpening.
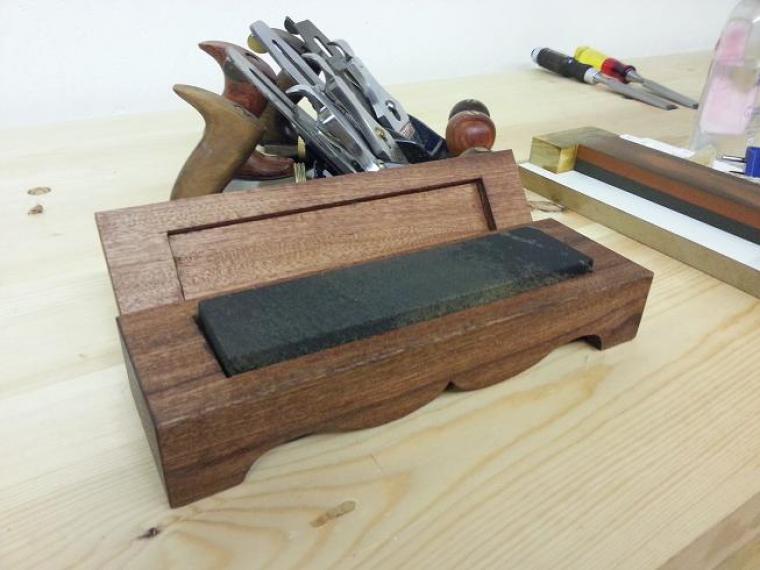
This will be very much aimed at a beginner, for someone who is having problems or for those unsure on what system to use rather than someone who is already happy and settled with their system. To summarise briefly, every sharpening medium that is available today be that sandpaper or ceramic stone works and works well. Mastering any sharpening process be that freehand, with a guide or with powered wheel will only be a matter of practice and what you feel comfortable with. I have chosen my prefered medium which is the oilstone and in this case the Norton India combination stone in 8" x 2" size with a "fine" and "coarse" face and yes it works just fine on A2 steel. Some of the advantages of this system are that it is good value (a Norton India is £33.00/$22.00 delivered to your door), it's does not hollow or wear quickly and it can be used in cold conditions with no risk of freezing. I will demonstrate both freehand honing and with a guide, grinding using the coarse side of the stone, how to sharpen a chisel and a plane iron. I personally freehand hone on finer stones and grind with a powered grinder, but I felt it important to show just what can be done with a very humble system and I will be using tools sharpened in this way on further articles. In addition to the stone you will need a stropping block (if you want to have one like mine I have one extra I can give away, drop a comment in the comments section and I will send you one, if more than one asks I will pick from a hat), honing oil (I find baby oil great but Norton make their own honing oil should you feel the need), a cheap side clamping honing guide, a simple base to locate the stone and some stropping compound (I have used autosol but something like chromium oxide would be just fine). You will spend in total around £50.00 and you might be surprised just how long this system lasts before you want to "upgrade"
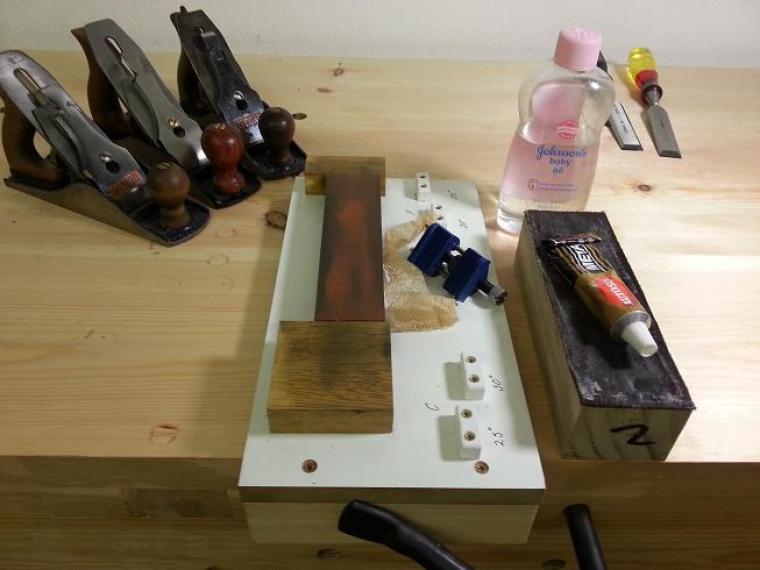
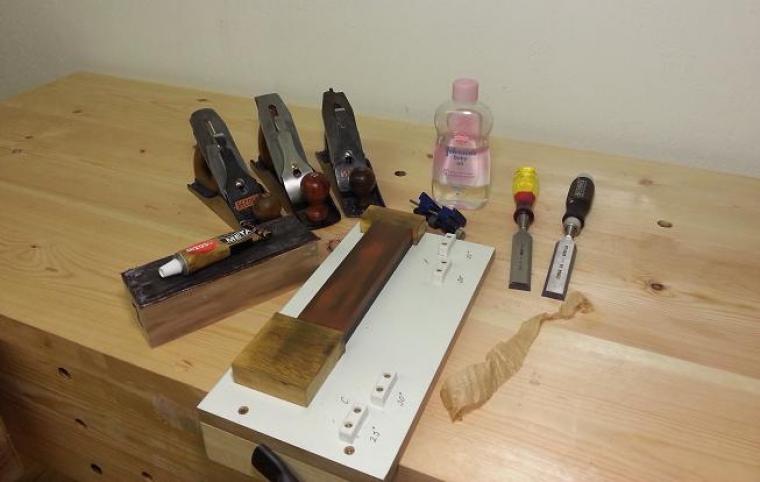
In the photo above you can see close up the set up. The base is made from melamine faced 3/4" MDF. Now for some that might not sound very nice, but I would go as far as saying buying 1 x 8' x 4' x 3/4" of this stuff would be a wise investment, it's very handy for making jigs and it stays very flat. If you don't like the idea of MDF then raid the scrap bin. The board is 360mm long by 185mm wide, bigger is fine but don't go smaller. Screw a batten under the board so it will push up against the bench top. Next screw a 80mm x 35mm x Stone Thickness hardwood batten on the far side as shown in the photo, drop the stone in a push the next 80mm x 80mm x Stone Thickness batten up against the stone snugly and screw in position. The concept with these blocks is that the one closest to us will allow the honing guide to us use all of the stone and if you go freehand they will prevent you falling off the ends as you practice. Then off to the right hand side fix some reference blocks. I have used modesty blocks, I suggest buying quite a few, very useful for jig building. All honing guides doubtless vary but if you are using the clamp I linked to then fix the first block closest to us 38mm from the edge (25 deg grinding angle), the next one at 30mm (30 deg honing angle) Note in pen the angles and pop a C next to them for Chisel. Screw the next two on, one at 50mm (25 deg grinding angle) and one at 38mm (30 degree honing angle) and pop a P there for Plane. And that's it. As I said at the start the concept with this system is to build confidence and get results for a small cost. You might like it and want to stick with it, hopefully with the next blog entry, after you see it demonstrated you might want to give it a go.