Face Side - Face Edge
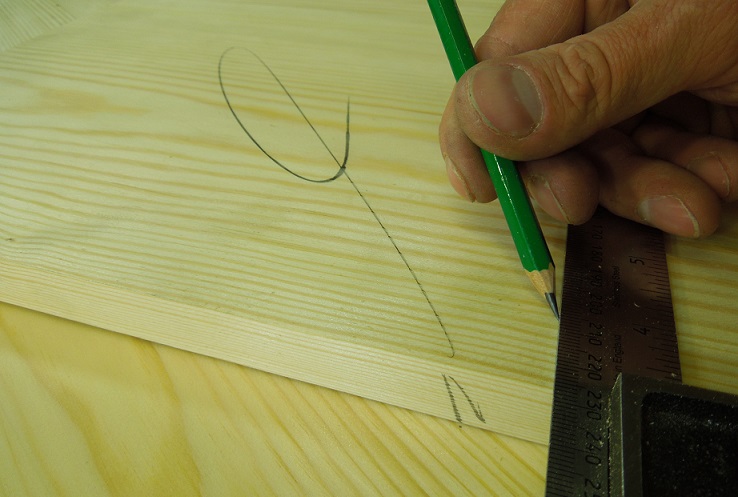
Just to add some further clarity to my project videos I just wanted to take a moment to explain what I mean when I mention the Face Side and the Face Edge. As always I hope the video covers most of it however a written article and some photos always help too. In no particular order here is what the simple Face Side Face Edge marks do.
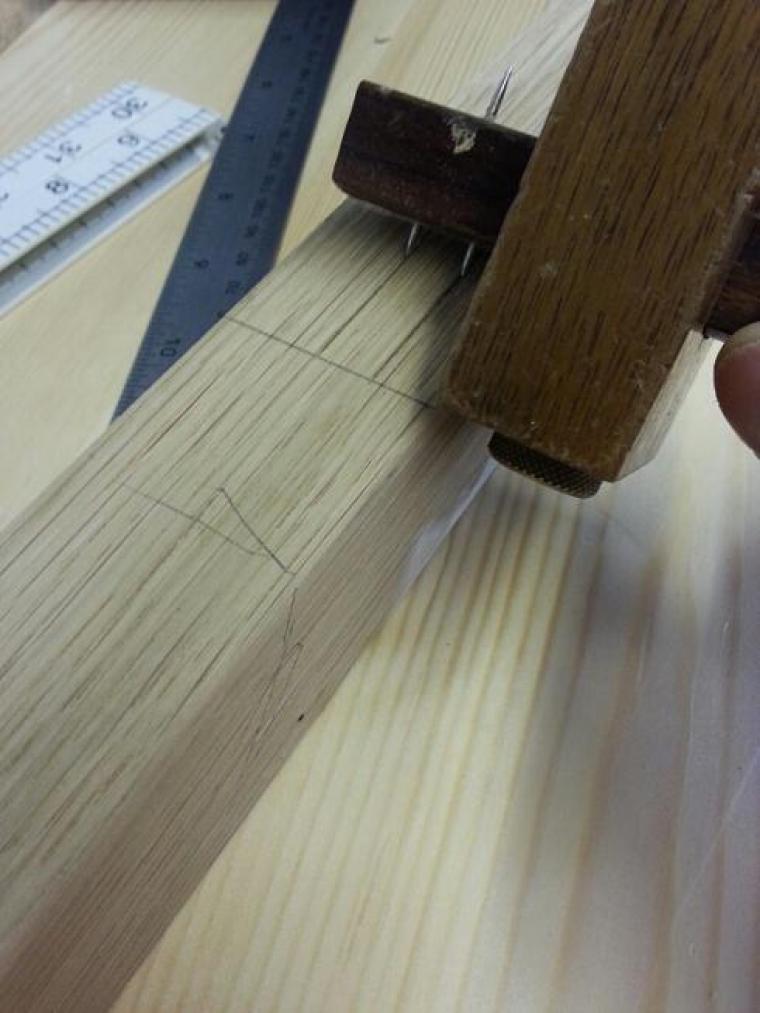
First of it gives a reference face to set gauges, squares or tools from. in the real world nearly every groove or rebate is offset as is nearly every mortice and tenon. Therefore not applying the fence or stock against the face side would mean a mortice would become staggered or a groove in the wrong. "Face against the fence" was one of the phrases of my apprenticeship as applying face side and edge marks applies just as much to machines or power tools as it does to hand work. Having the faces marked you have to decide where each piece will be used in advance and you don't switch as you go along avoiding error.
It gives us a chance to pick the best face and to declare it as such. The "best face" may vary depending on position but once it's been declared all gauging and squaring is taken from it. This little bit of time can help us plan the work and if we are lucky allow the hiding of a defect within a rebate or tucked away in an area unseen.
Accuracy! A hugely important thing. By squaring around from only the face side and face edge marks we can be sure to prevent inaccurate shoulders and setting out. The real world situation is that not always do we find ourselves with perfect timber, by picking an accurate face side and face edge we can prevent the imperfections causing problems. It's how you insure the end product will be square and true.
So if you're not applying this method try it, you might find more accurate results as a consequence and if you don't at least you'll know what I'm talking about in my project videos.