# 4 Plane
With the block plane refurbished and ready for work it’s time to turn my attention to the #4 Smoothing Plane. The #4 is the first of the “Bailey” pattern planes to receive attention. A smoothing plane does what you would expect with a name like smoothing. It applies a fine finish to your work after the use of the fore/jack and trying/jointer plane. It is also used for leveling and flattening of joints.
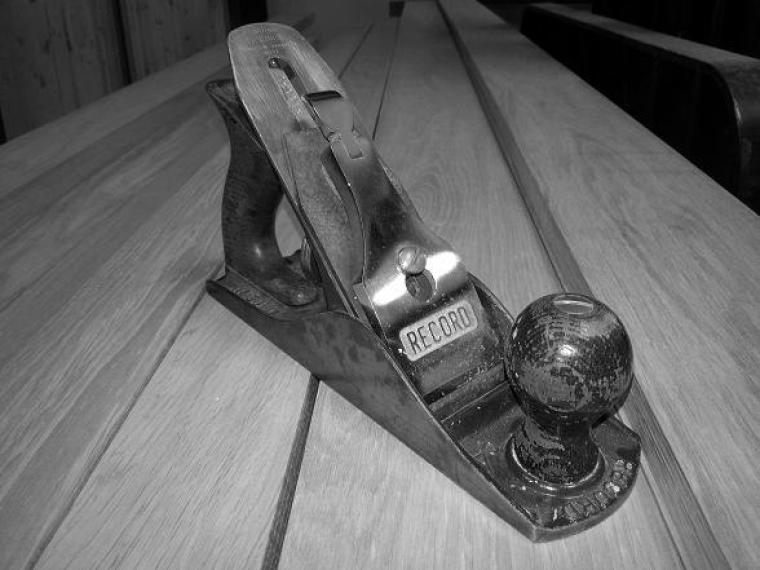
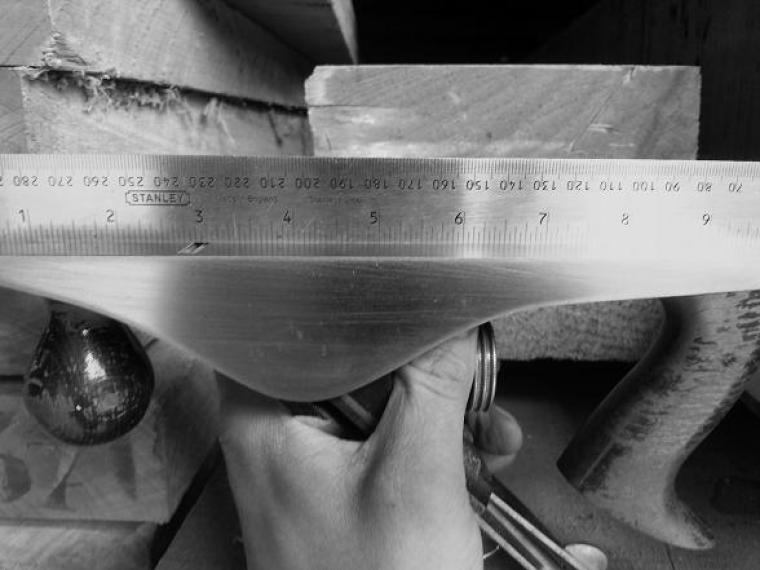
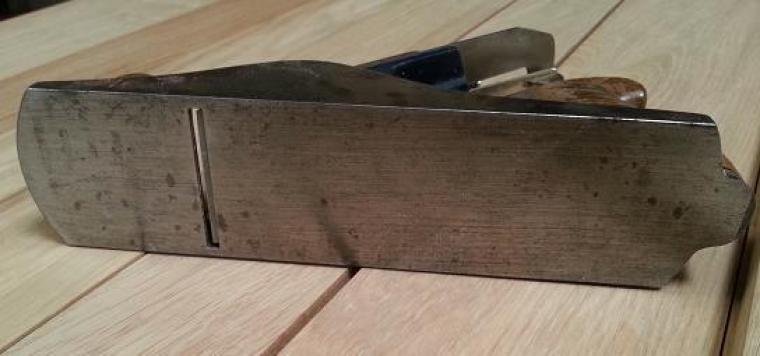
My purchase is an early Record #4 plane featuring a nice high surface area frog. Overall condition is good with all issues mainly cosmetic. As with the block plane this will not be restored to original condition, presentable and well prepared will do just fine for me. I found inspiration here on how to prepare a Bailey plane. Follow the link, Select “Tune Up” and scroll to the bottom of the page and there is a breakdown of how an expert cabinet maker does it. I’m anxious to try this and find out if I notice the difference when compared to my day job #4 and my budget #4 I bough on a whim. The first job is to ensure I have a flat sole on the plane. A flat sole ensures fine accurate shavings can be produced. As you can see from the image below the sole is scored and marked and far from clean. In it’s favour though it is just about straight when offered up to a straight edge.
Flattening the sole of such a short plane is not too much of an arduous task. I attached 3 lengths of abrasive to a known flat surface. As the sole is quite mucky I picked an 80 grit to quickly clean up the sole, then a 120 grit and to finish a 240 grit. The blade must remain in the plane and be under the normal tension. Do ensure though the blade is fully retracted. It is then a simple operation of moving the sole of the plane up and down the abrasive. As my sole is quite heavily marked it was easy to see where was being abraded and where was not. If you have a clean sole, marker pen lines drawn across the sole will serve as your indicator.
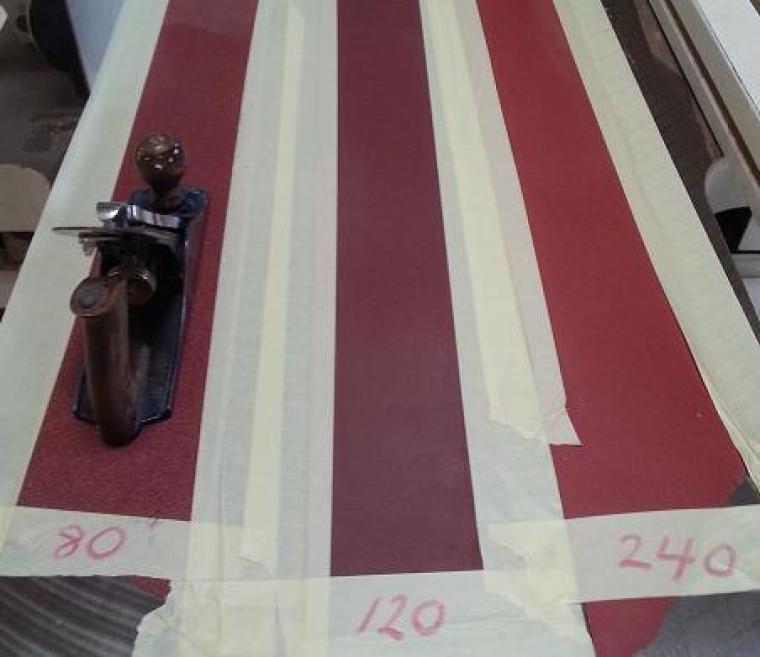
After about 10 to 15 minutes I had it flat and level. To protect the freshly exposed clean metal I polished in some 3 in 1 oil. After this I used the same abrasives to tidy the outer cheeks of the plane, they were also treated with 3 in 1.
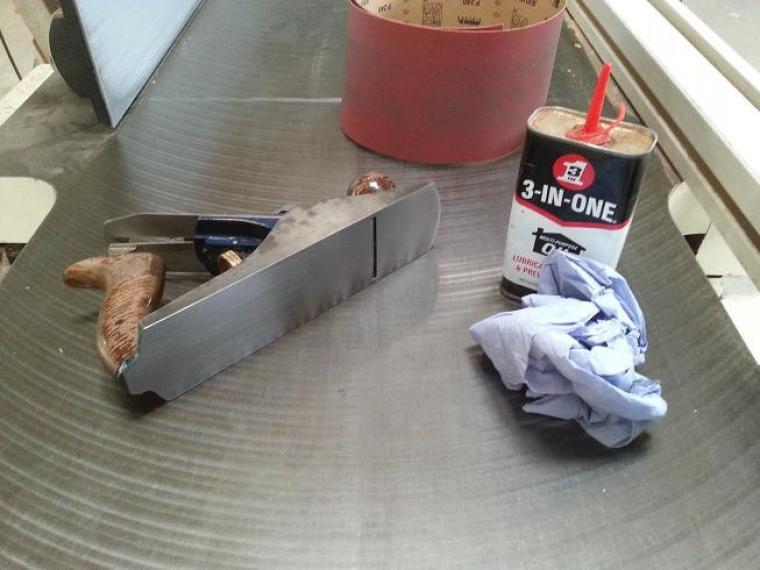
The next stage will be to strip the plane down and inspect, refurbish and sharpen as required